
If you are a domain owner, it’ a good idea to use domain specific Email address like admin@domain.com, yourname@domain.com, as it not only shows professionalism; it also makes your email more serious and authentic. There are many web-services that you can use to create a domain-based email address, and one of the best options is by using Google Apps for Work. Google Apps for work cost $5/user/month, and it integrates with all Google services.


In this guide, I will show you how to create Email ID for your domain using Google Apps. (Some of the screenshots might not be same; as Google keep changing the screenshot but the process will be same and is very easy to follow for you).
Today in this article I am going to help them create their own mail id for their domain free with google app support. This article will work with most of the common domain registrar.
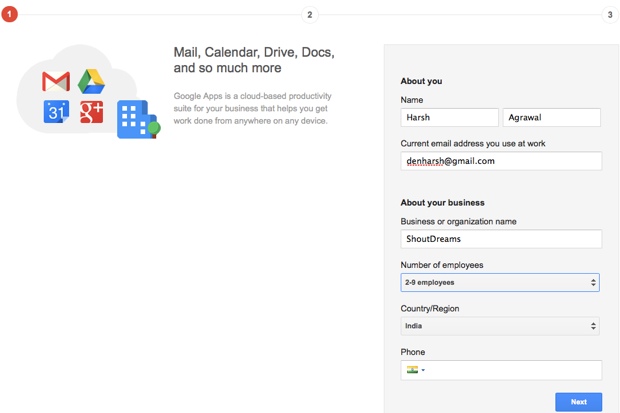
Steps to register at Google Apps
Click on next, and on the next page, you have the option to buy the domain from Google or use any of your existing domain. If you have a domain, use the option which says “Use a domain name I have already purchased” and if you need to buy a domain name, use the second option.
On the next page, you will need to create your first Google Apps user name. My suggestion would be, create only those email address which you are more likely to going to use. As Google Apps charges /user/month, using fewer Email address will ensure that your business monthly expense will be low.
Click on signup and it will automatically redirect you to admin dashboard of your newly created Google Apps account. Here is a screenshot of my Google Apps admin console.
The very first thing which we require here is to verify domain ownership which could be done in multiple ways. The easiest way is by adding the meta tag if you already created your website, or you can add Txt record to verify domain ownership. In my case, I have added meta tag into my WordPress site to verify domain ownership.
Once you have verified your domain ownership, next step is to set up email for your domain. Click on next sep after verify, and you will be back to admin console where you can click on setup email to start setting up Google Apps Email service. The great thing about Google Apps setup tool is, it’s very smart and makes it easy for any non-technical user to setup and get running in no-time. For example, in my case, Google apps detected that my domain is hosted on Bluehost, and it gave me instructions to quickly setup Google Apps email service via Bluehost.
Now delete all existing MX record in your Bluehost hosting account or other web-hosting services that you are using, and simply add the MX record provided by Email setup console of Google apps:
That’s it! Within 24 hours Google will check the MX records after which your mail will be activated. I hope this tutorial will help you get your personalized email address for your domain.
Do remember, having your personalized domain Email address, will help in branding and look more professional.


No comments:
Post a Comment